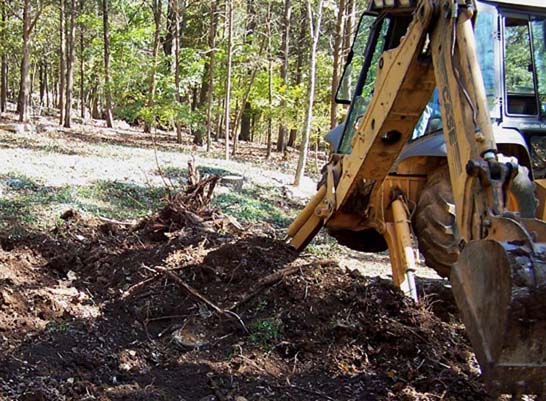
On 18 November, 2004, I received a building permit for the construction of the building that will house F-100 memorabilia, the F-100 library, and the extensive collection of F-100 models. Figure 1 shows the the start of the clearing process.
Figure 2 shows the results of the clearing work ... we're down to the rock layer and we're ready for the foundation and building slab. Anne is looking for some more woods hyacinth bulbs that we can use for landscaping when the building is done.
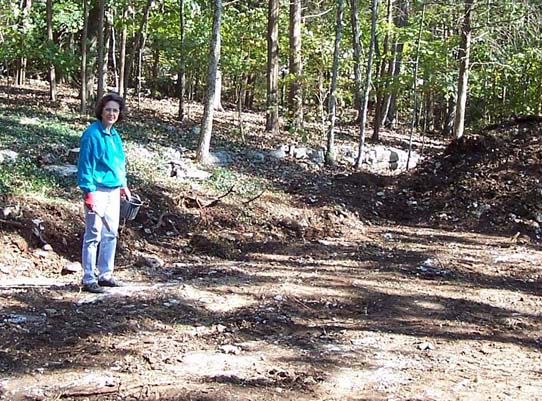
Figure 3 Shows the concrete foundation and building slab.
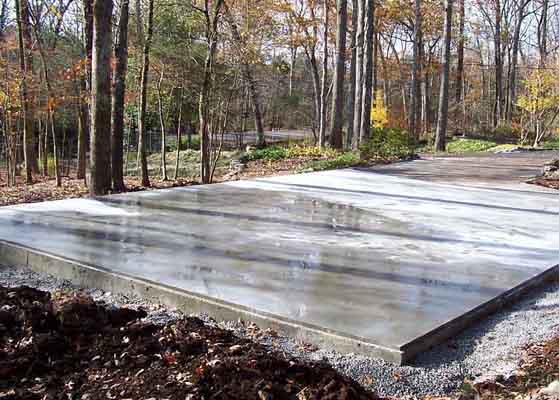
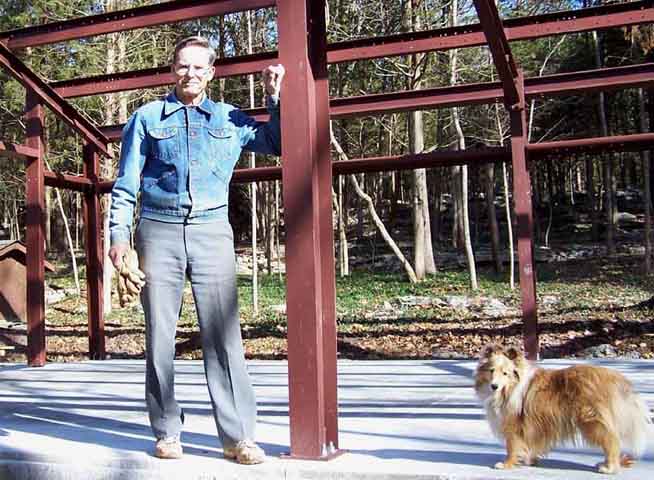
Figure 4 shows the basic steel structure of the F-100 building. As you can tell by the size of the center beam that I'm holding on to, this will be a very strong building. My four-footed supervisor, Sissy Mae, makes sure that the job is done right.
The electrical wiring in the F-100 building feeds through a subpanel ... which is connected to the main house panel through a 65-foot conduit. The building code requires the wiring to be encased in a 3-inch conduit, which must be buried at least 18 inches down. To make sure that I met the requirements, I made sure that I had some safety margin, so I dug down to a minimum depth of 23 inches ... through layers of rock and roots. This kind of digging requires a sledge hammer to break rocks, an axe to cut roots, a heavy-duty pickaxe to pry the broken rock and cut roots loose, and a lot of exercise, not to mention patience. Figure 5 shows that I'm still smiling ... but I'm standing in very cold mud.

Figure 6 shows the inside of the F-100 building. The central airconditioning and heating ducts are well-insulated ...

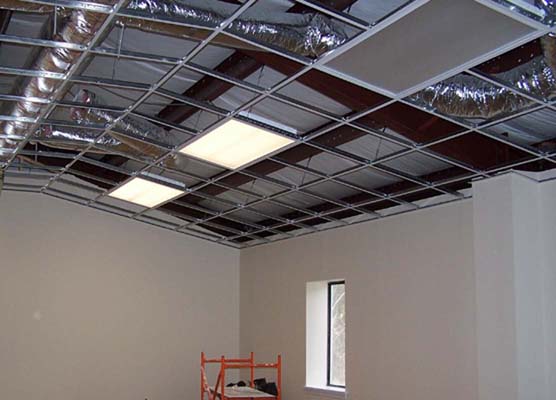
By 10 February 2005, the interior finishing work was well on its way to completion. As you can tell by looking at Figure 7, the drywall, the trim, the ceiling grid, and the electrical work are done. (Note that I have turned on two of the eight ceiling lights.)
The interior was completed on 9-March-2005. We moved the display cases, the models, the framed pictures, and -- most important -- the restored F-100 intake, the instrument panel, and the pitot boom between 10-March-2005 and 12-March-2005. Figure 8 shows the basic layout of the southeast corner of the building on 15-March-2005.
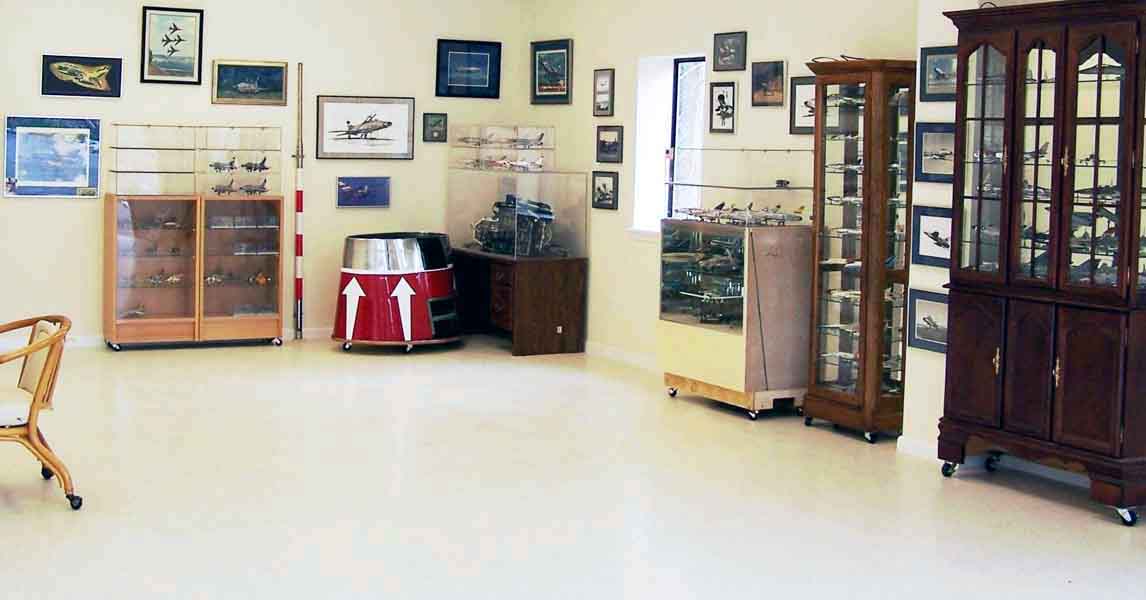
Figure 9 shows the exhibits in the southeast corner of the building on 1-August-2006. As you can see, a lot of additional restoration work has been completed and the displays are more carefully arranged. Check out the restoration link on the left side of the screen to see what else is being restored. The big project is building a fuselage "from scratch" ... basically, I will wind up with a 1:1 scale "model" as the collection's center piece. That's the closest to the real thing I'll be able to get.

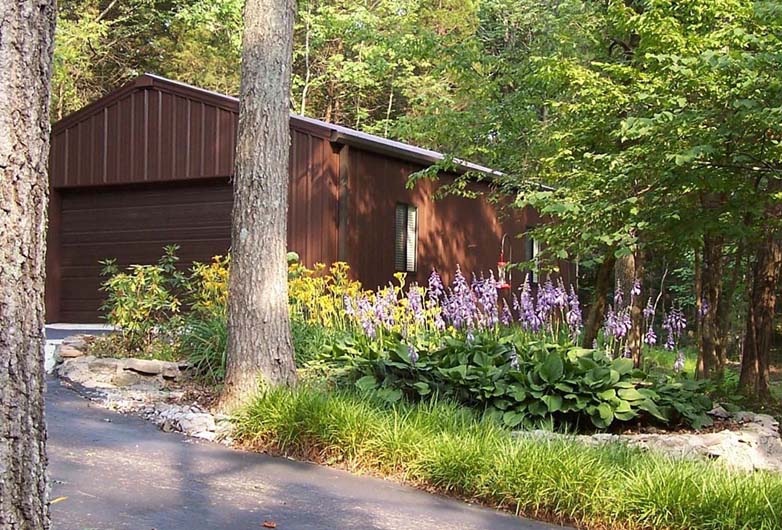
Figure 10 shows the outside of the building. The landscaping is beginning to pay off. I'm adding more flowering bushes and trees to enhance the building's image.
If you want to return to the home page, you can either click
on the
Home
link shown here or by
clicking on the
Home
link shown on the navigation bar on the left side of your screen.
(You can always use any of the navigation bar links to move around
this website.)