|
Slat damage  |
More damage 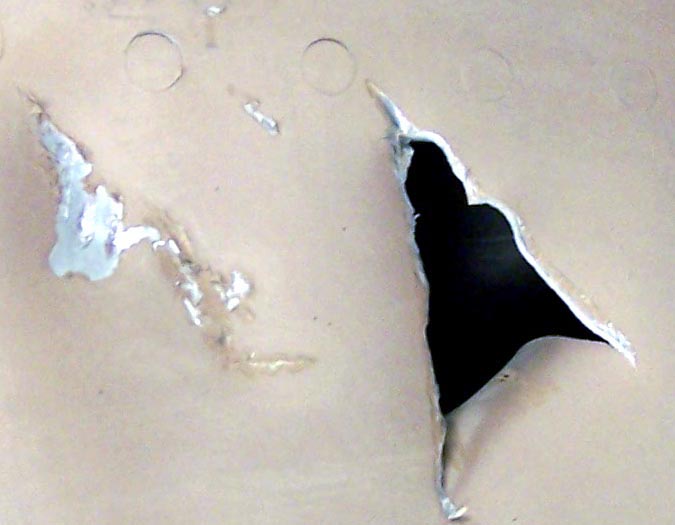 |
Primed slat.  |
As you can tell by looking at Figure 1, cells 01 and 02, the slat was not in great shape. Repairing the tears was not practical, so we cut the damaged sections out, only to discover that there was a lot of spar damage, too. Therefore, we drilled out all the rivets and pulled the pieces apart to serve as perfect templates for the re-build work. Fortunately, we could save the sleeves, the actuator hinges, and the hinge attachment points. A ten-hour cleaning and polishing job made these components look new again. The motto for this project seems to be "save what you can and make the rest from scratch."
Figure 1, cell 02, shows the new slat in its primer finish. The primer is Dupli-Color self-etching automotive paint, which adheres well to the new aluminum surface. (Naturally, it's a good idea to wet-sand the aluminum first to roughen the surface just a little bit before spraying on the primer.)
Note: You can enlarge the pictures by clicking on them. Some pictures can be made even larger by clicking on the enlarged picture and then maximizing the window.
|
Slat damage |
More damage |
Primed slat. |
One of the things you learn is that construction flaws become more visible when the paint is applied. Even a primer coat reveals small "dinks" and scratches that were produced when the new aluminum was shaped and riveted. Figure 2, cell 01, shows that a lot of patching was still required ... to be followed by lots of sanding, more patching, and more sanding.
After the slat surface was judged to be sufficiently smooth, I sprayed the aluminum lacquer on. Some more light sanding and another coat of aluminum lacquer completed the "standard" slat appearance. Because I like the bright colors carried by the Huns during much of the 1950s, I decided to match a 1/48 scale model that I had built some years earlier. (See Figure 2, cell 02.) This model shows the colors of the 31st TFW at George AFB, California, in 1958.
Note: You can enlarge the pictures by clicking on them. Some pictures can be made even larger by clicking on the enlarged picture and then maximizing the window.
|
Scratch repair  |
The model 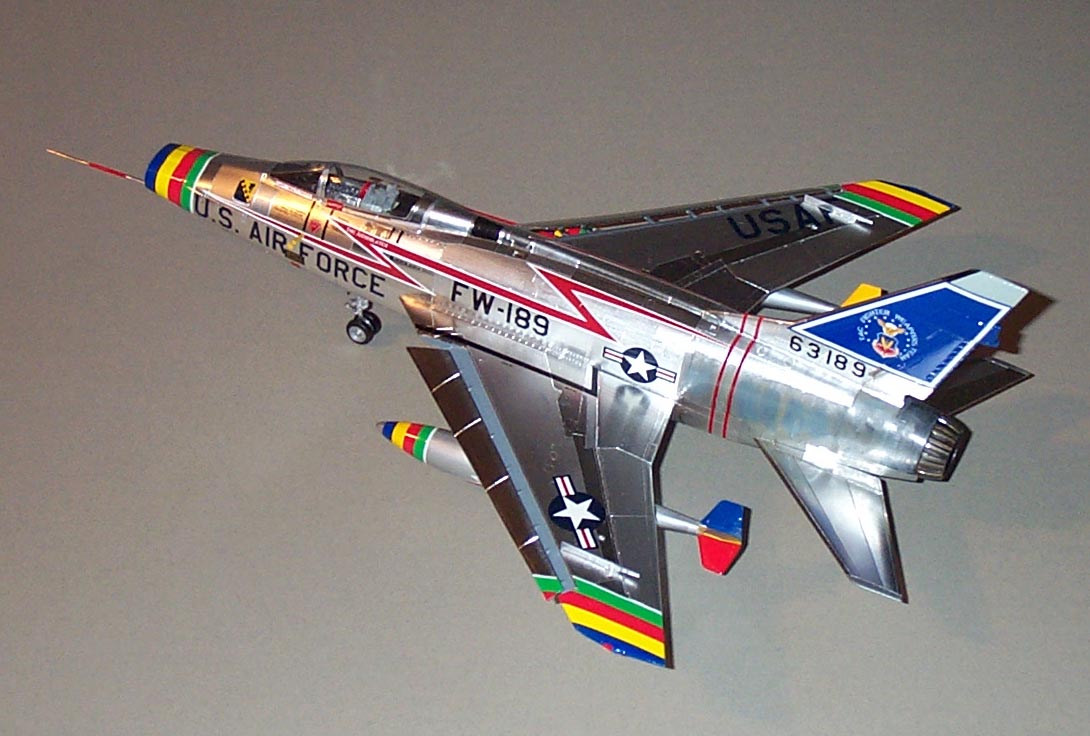 |
Completed slat 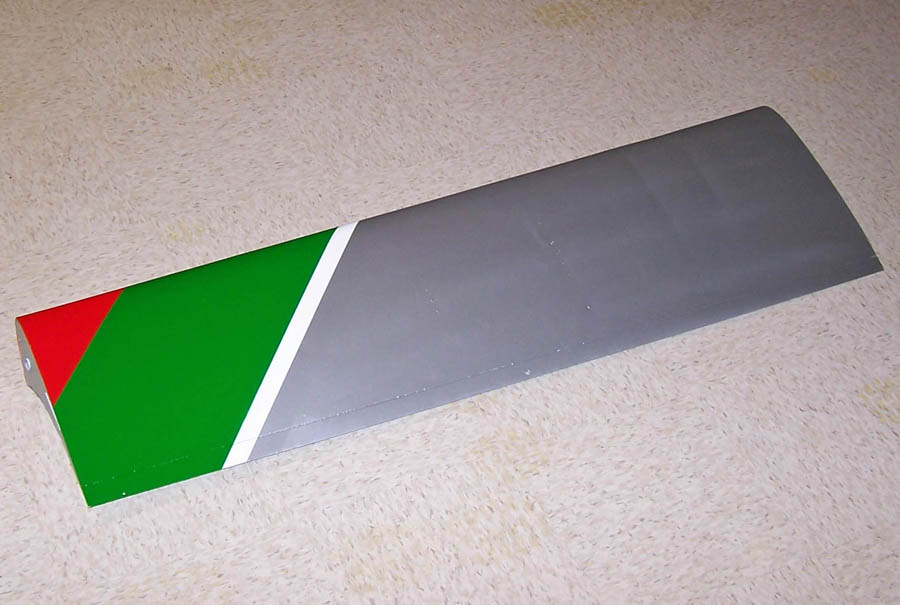 |
The completed slat is shown in Figure 2, cell 03. The "full size" paint job matches the model's presentation perfectly. Lots of work, but maximum satisfaction. (Actually, the spray painting has been completed, but some minor detail touch-up still has to be done at this point. A super-fine modeling brush is essential for that job ...)
As this major "modeling" project moves forward, I will post pictures of the progress we're making. I may not be able to have a real F-100 ... but a properly contructed full-scale model will not be distinguishable from the real thing. Stay tuned.
If you want to return to the home page, you can either click on the Home link shown here or by clicking on the Home link shown on the navigation bar on the left side of your screen. (You can always use any of the navigation bar links to move around this website.)