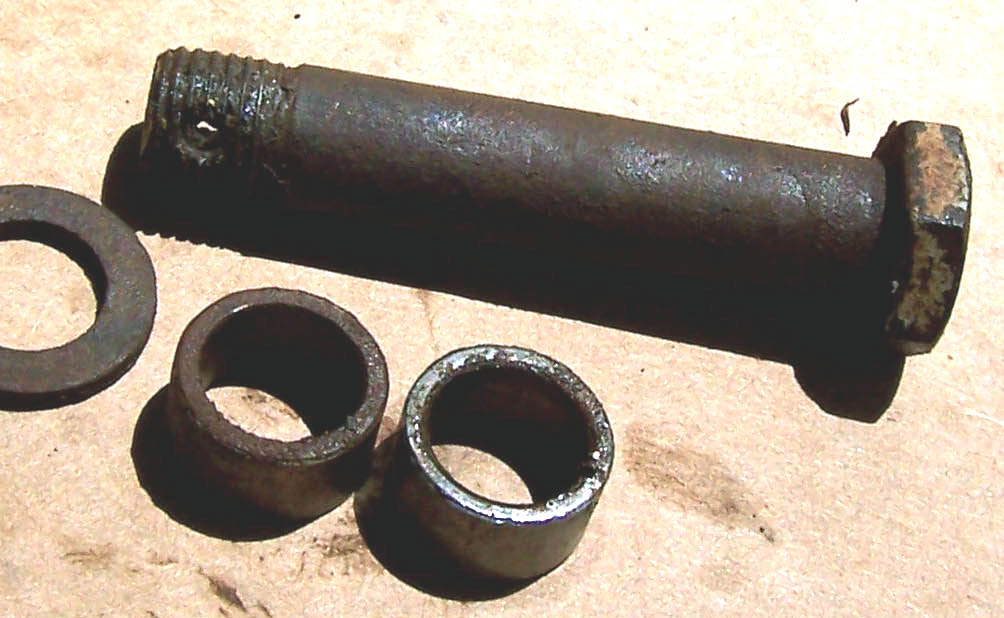
The tail hook is one of my early restorations. This is where I learned to remove rust, repair scratches, make small components, and polish. Most important: I learned that patience and lots of elbow grease are the most important ingredients of any aircraft restoration process. Figure 1 shows a rusted bolt and some spacers after the tail hook was completely disassembled.
Note: You can enlarge the pictures by clicking on them.
Figure 2 shows one of the really useful rust removal tools. Evapo-Rust actually works, yet it's very easy on the hands and on the environment. Unlike some of the phosphorus-based rust removers, it seems to have no effect on bare skin or on clothes. (I spilled plenty of the stuff on my hands and frequently wiped my hands dry on my clothes ... no burns and no textile destruction.) I found that the best way to use this product is to soak the rusted parts overnight ... and then use a copper wire brush to remove the resulting residue.
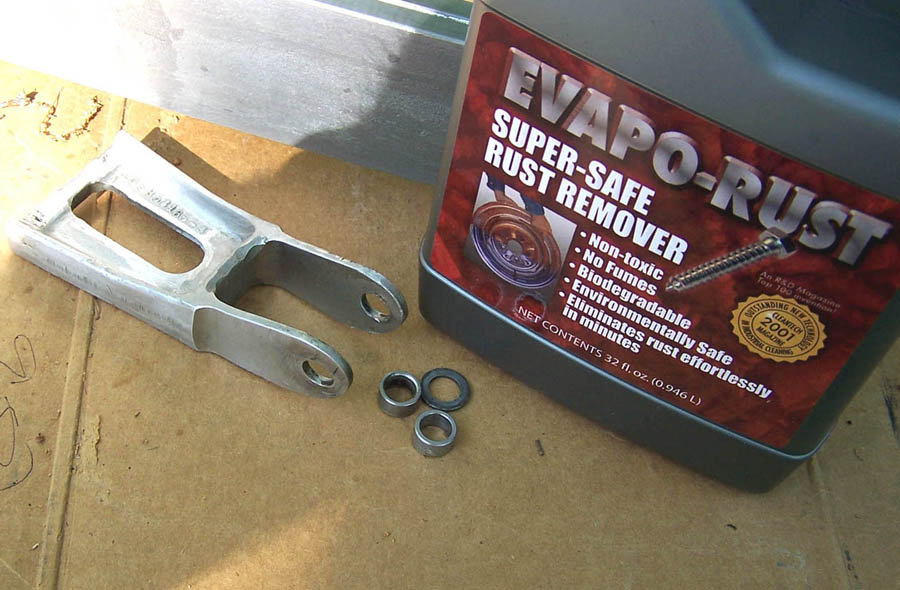
Figure 3 shows that elbow grease is still a big part of the restoration process. It's important to have lots of tools, but it takes time to master their use. One of the best finishing tools is also the simplest one ... ScotchBright pads are essential and bare hands still provide the best way to feel imperfections and to guide the seemingly endless scrubbing. Did I mention the value of patience?
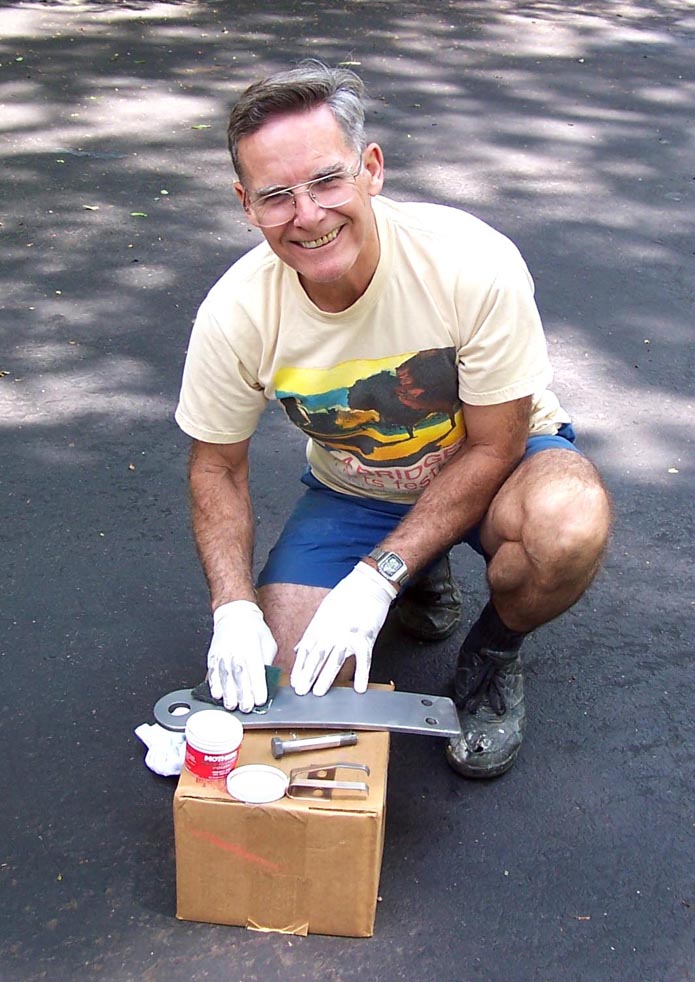
Figure 4 shows the result of endless hours of cleaning and polishing. Compare the shiny bolt in this picture to the one shown in Figure 1.
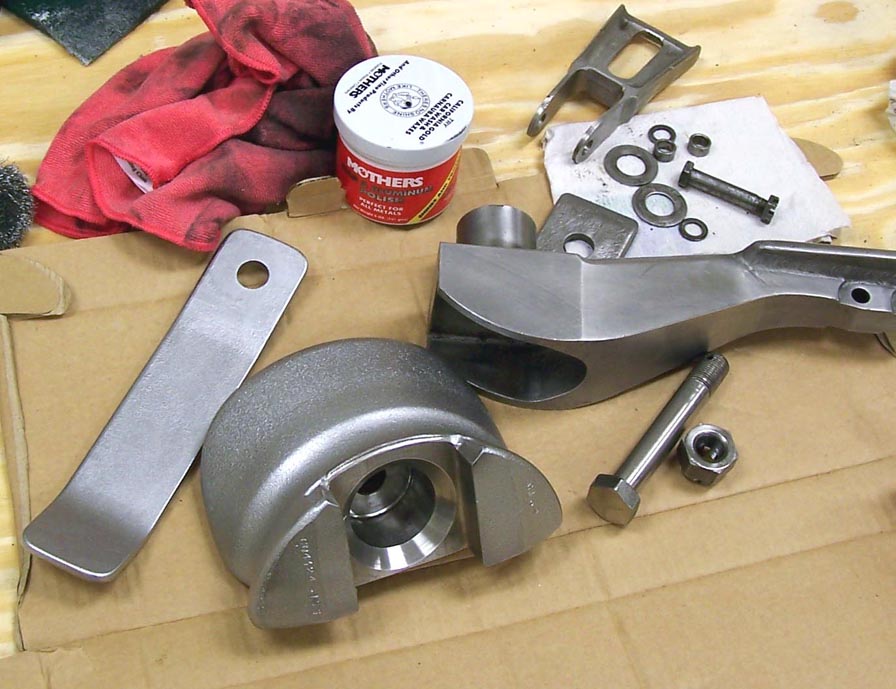
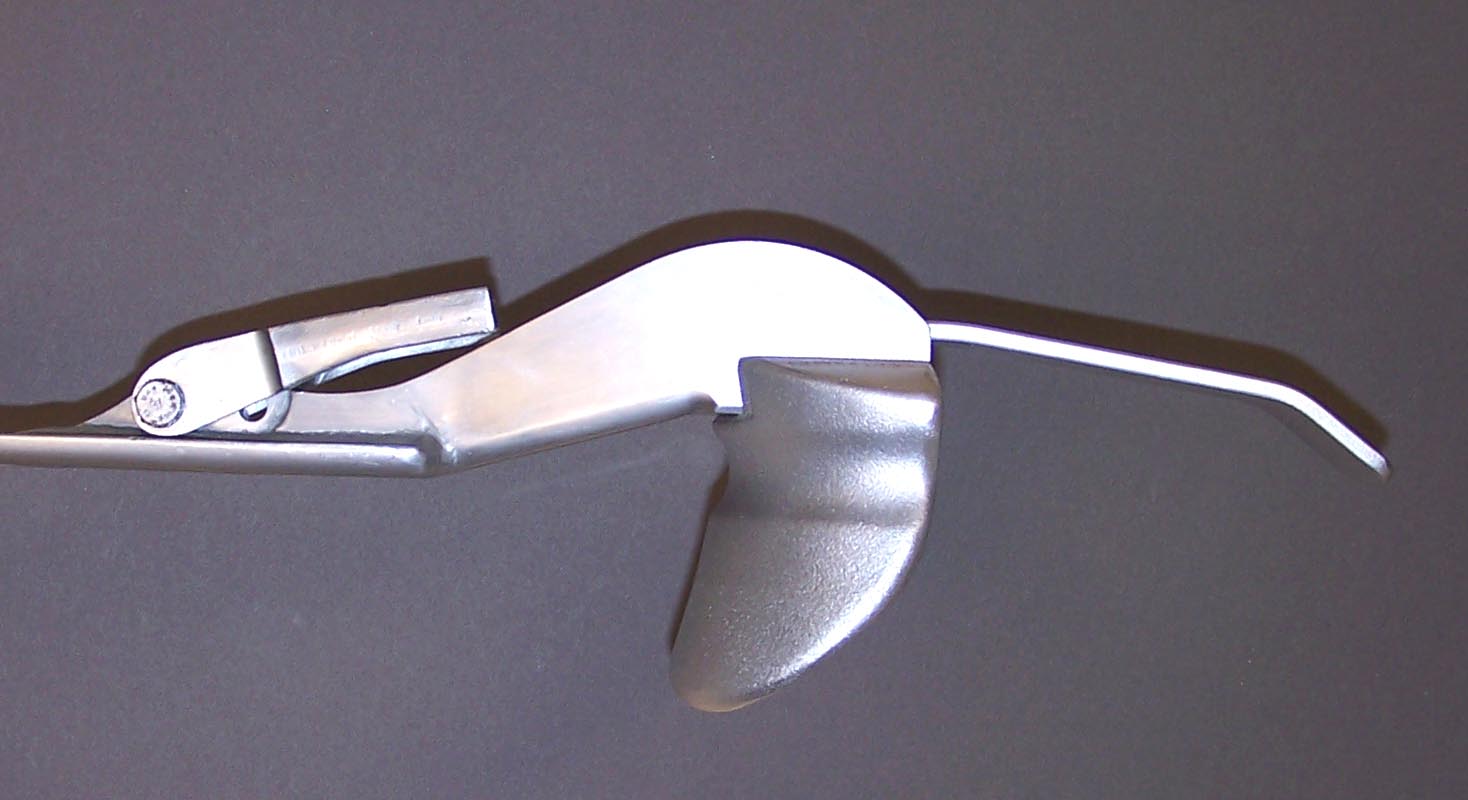
Figure 5 shows the reassembled hook ... this one has a factory fresh look after an investment of nearly 30 hours. My work log shows that I invested just over 45 hours in this small restoration.
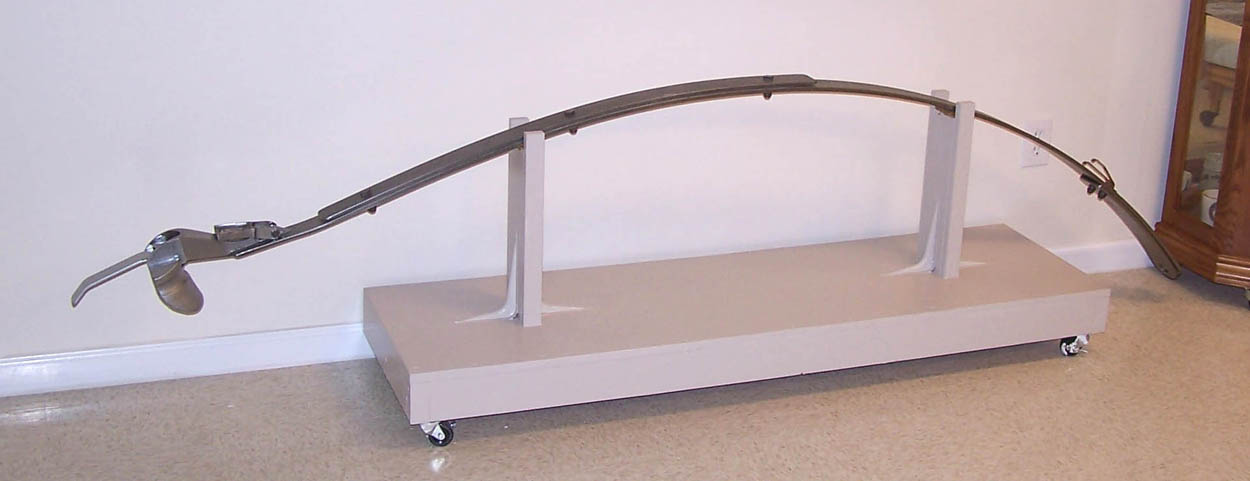
After the tail hook restoration was completed, I still had to produce a display stand. Figure 6 shows the way the tail hook is displayed in the F-100 Building.
While the rebuilding and restoring efforts are important, please remember that the main focus of the F-100 project is its database. If you can supply stories and pictures that reflect your experience with the Hun, please do so. (You can click on the Contact me link to send me an email.) The objective is to develop a very comprehensive personal history of the Hun and of the people who flew and maintained her. You and the Hun deserve to be remembered in your own words.
If you want to return to the home page, you can either click
on the
Home
link shown here or by
clicking on the
Home
link shown on the navigation bar on the left side of your screen.
(You can always use any of the navigation bar links to move around
this website.)